# Blender Shading
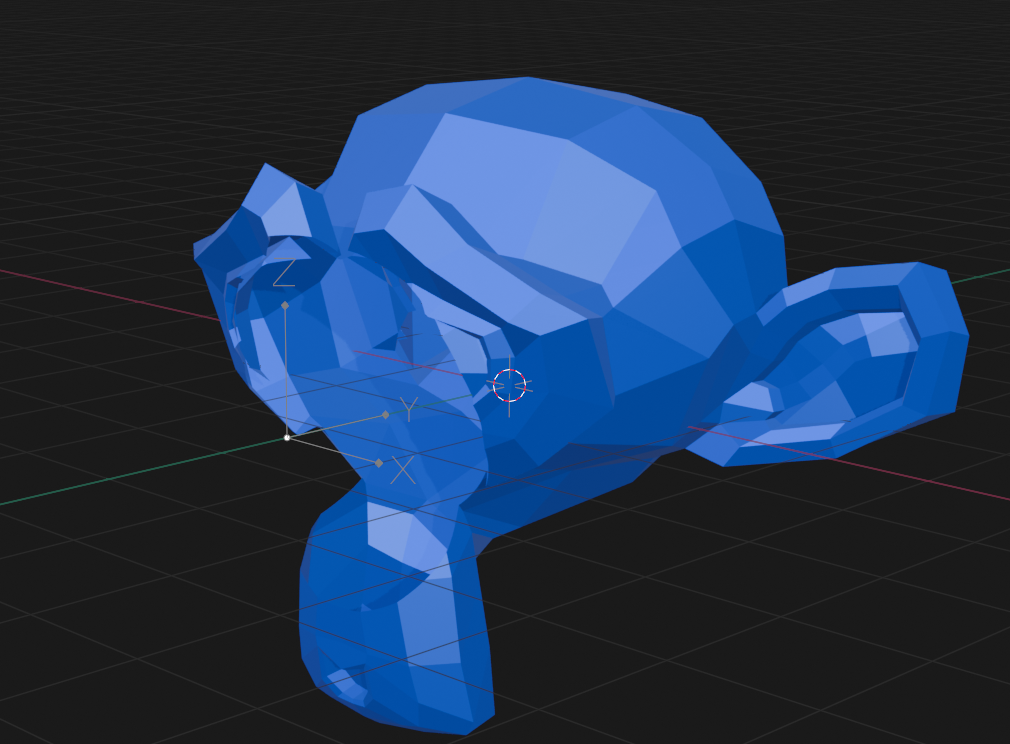
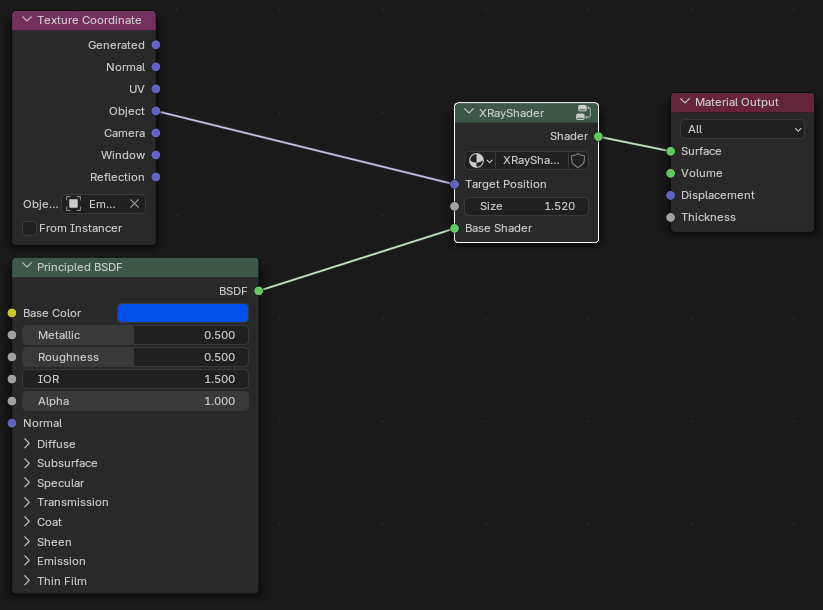
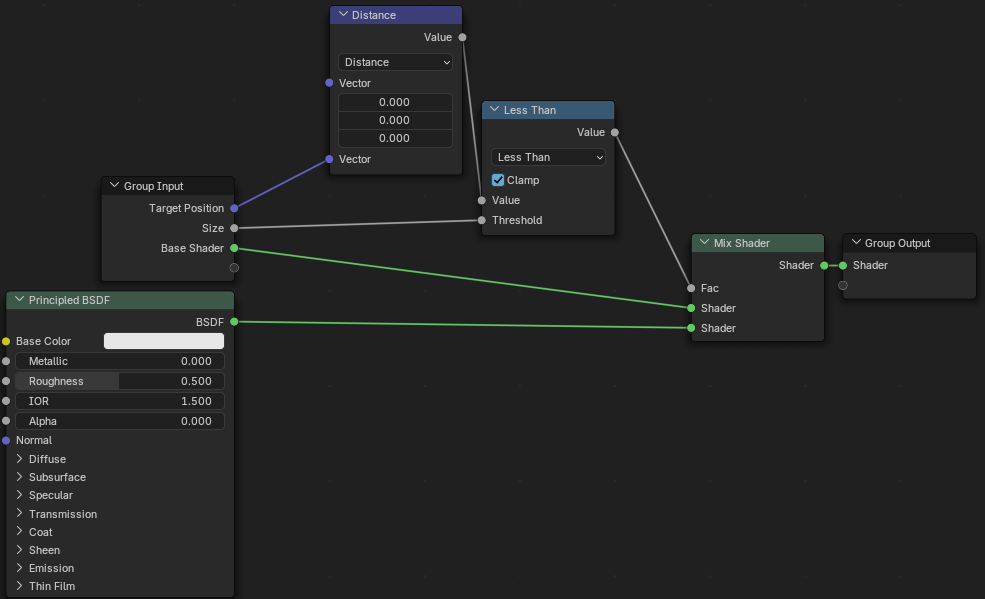
# X-Ray/Cutaway Shader
[](https://kb.oliver-karger.de/uploads/images/gallery/2025-08/image.png)
[](https://kb.oliver-karger.de/uploads/images/gallery/2025-08/2I1image.png)
[](https://kb.oliver-karger.de/uploads/images/gallery/2025-08/Ybrimage.png)
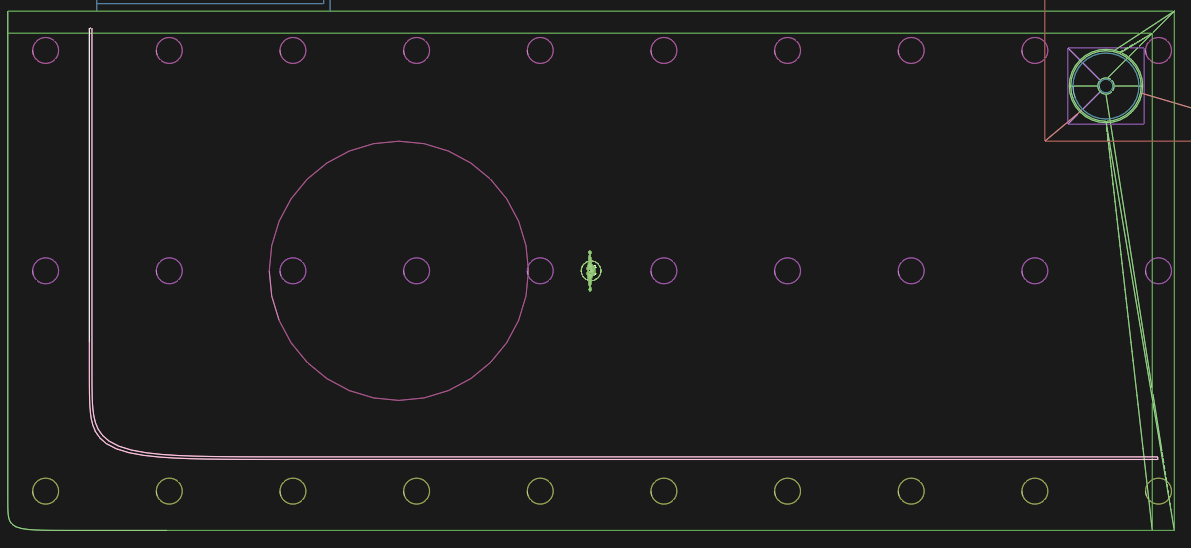
# Two-Way Glass Shader
[](https://kb.oliver-karger.de/uploads/images/gallery/2025-08/Reaimage.png)
[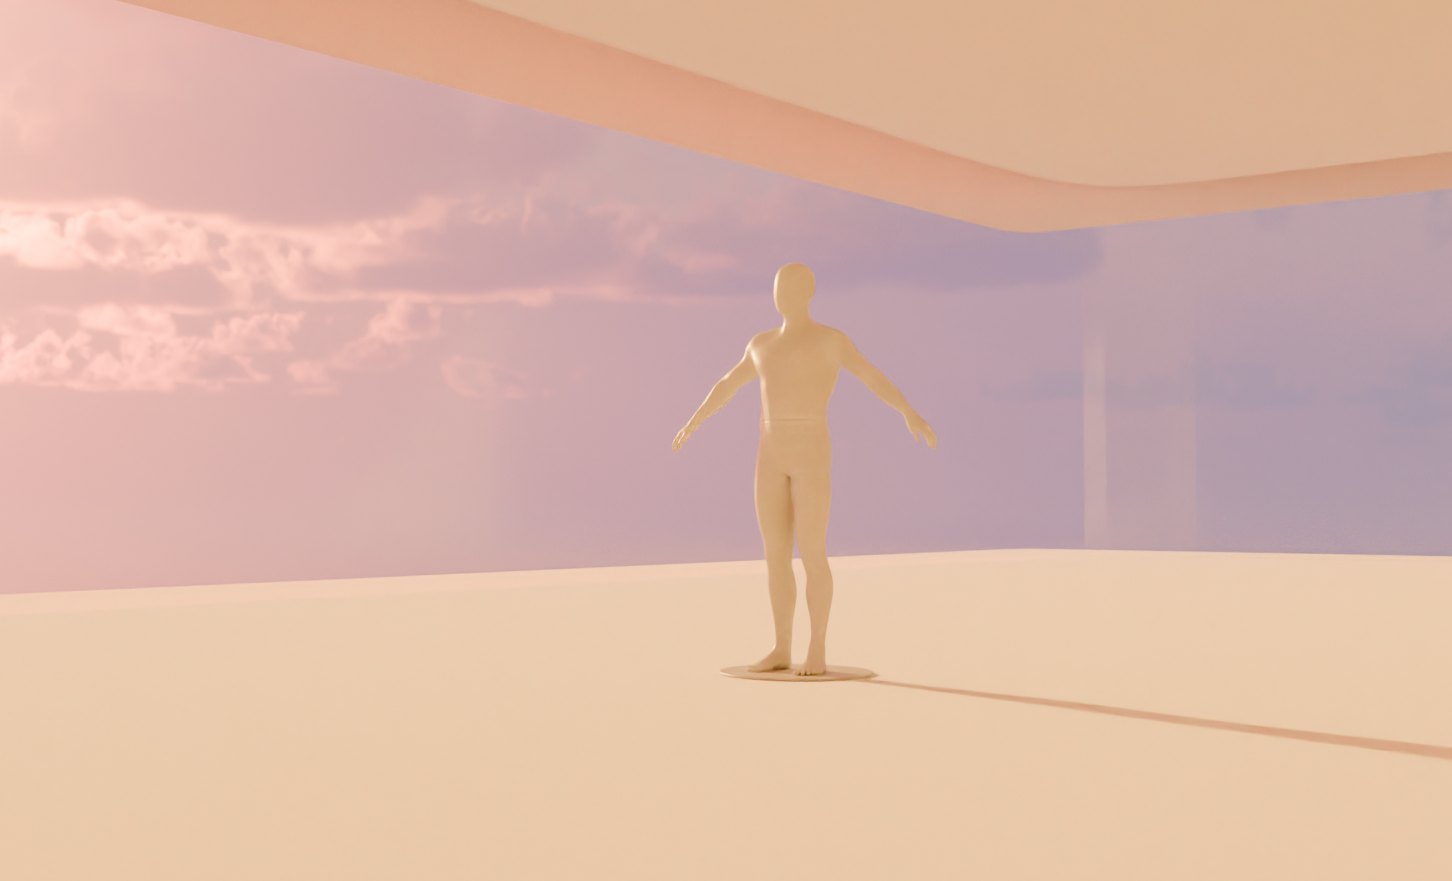](https://kb.oliver-karger.de/uploads/images/gallery/2025-08/JaAimage.png)
[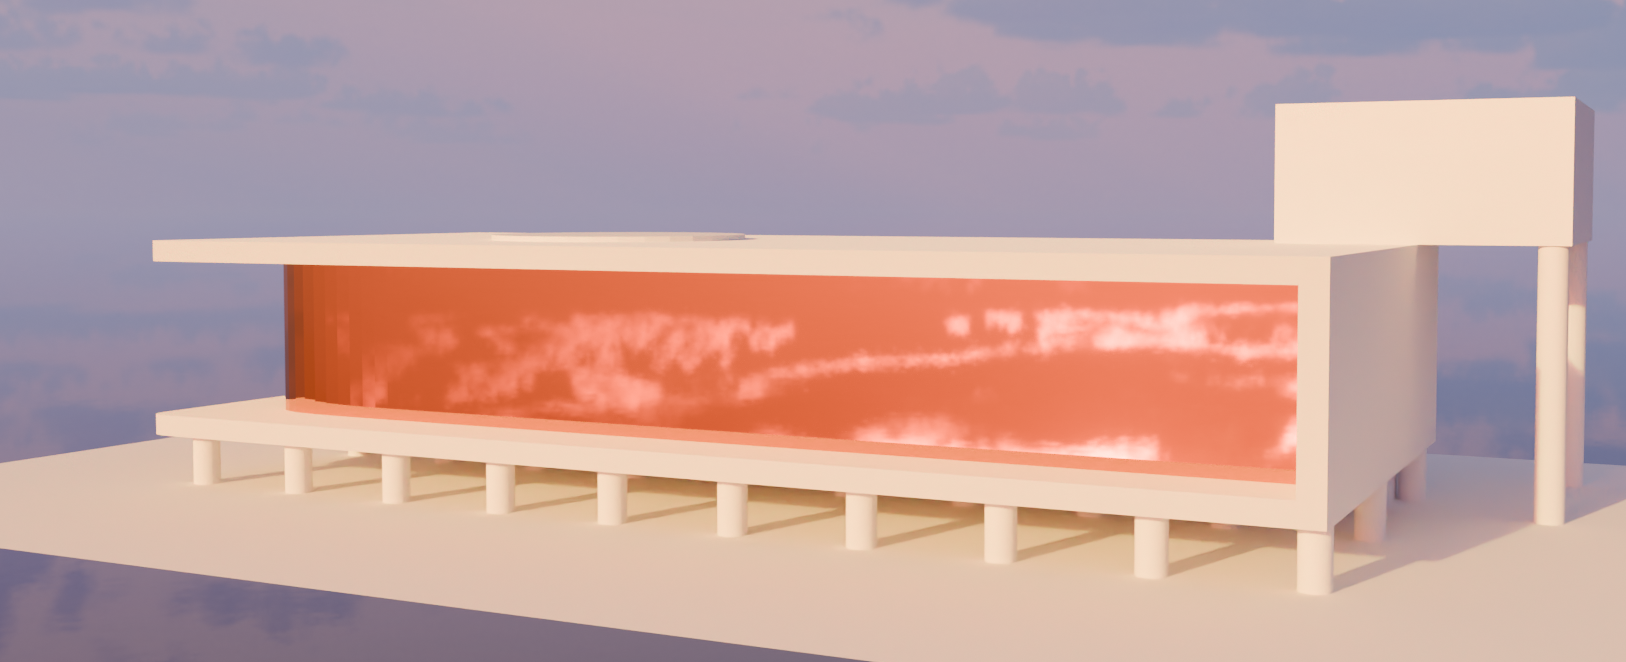](https://kb.oliver-karger.de/uploads/images/gallery/2025-08/B1Dimage.png)
This only works with 3D Geometry! (No Planes/Circles etc.)
1. Seperate Inner and outer Geometry into seperate Material Slots[](https://kb.oliver-karger.de/uploads/images/gallery/2025-08/rjeimage.png)
2. Create Shaders as below. For the Outside Shader, the "Backfacing Geometry" Output needs to be used to manipulate the Alpha of the other Side of the Faces. That way, we get the "2-Way-Mirror" Effect
#### Outer Shader
[](https://kb.oliver-karger.de/uploads/images/gallery/2025-08/s5Nimage.png)
#### Inner Shader
This can be any generic Glass Shader with Alpha Information
[](https://kb.oliver-karger.de/uploads/images/gallery/2025-08/g17image.png)
# DAZ IRAY Skin Material Optimization
## Example Material (Head)
[](https://kb.oliver-karger.de/uploads/images/gallery/2026-01/image.png)
## Optimized Material
[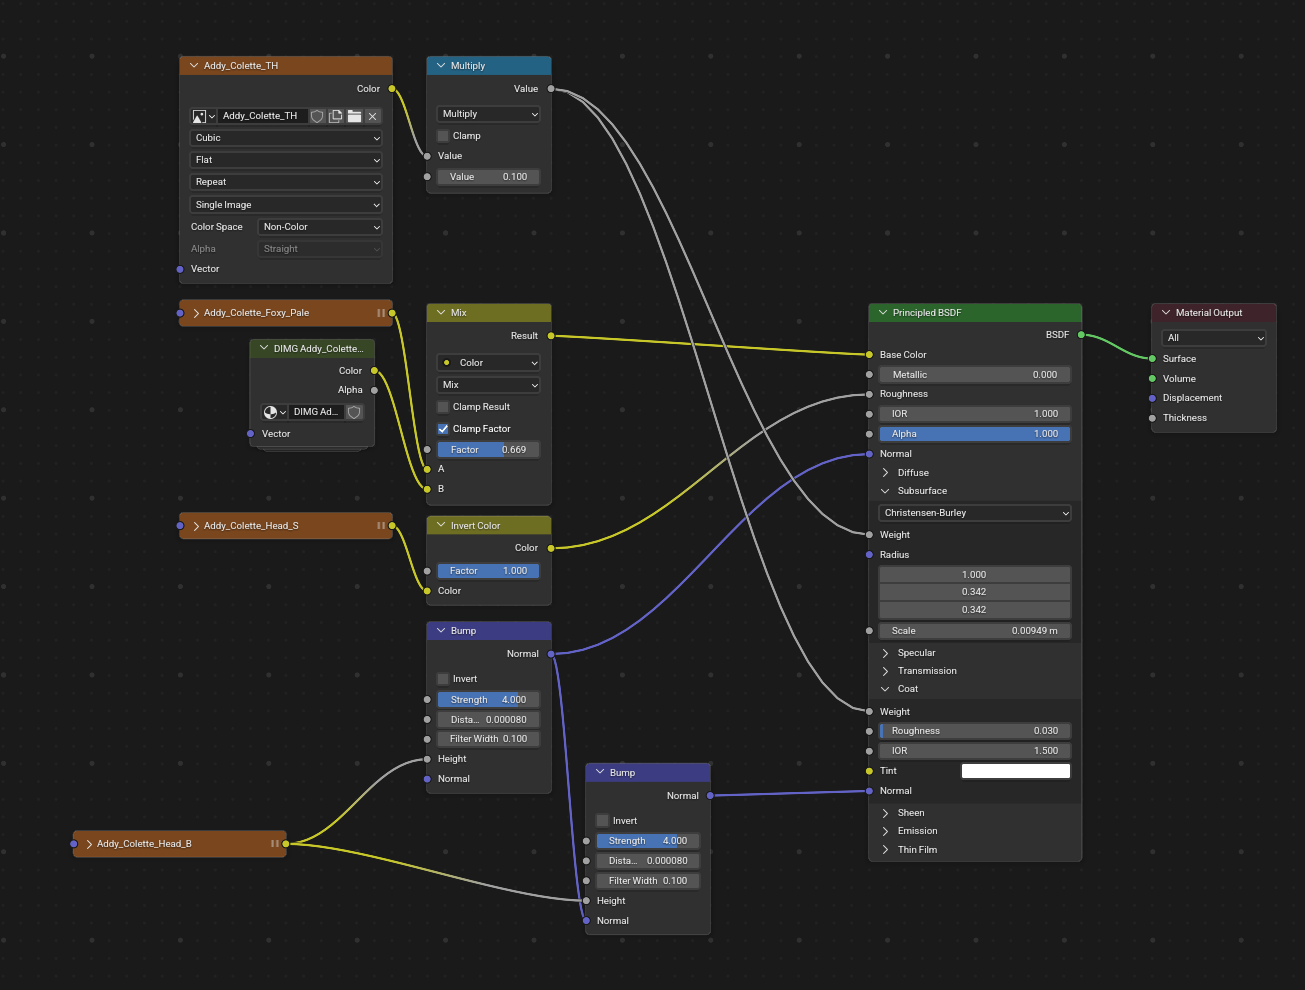](https://kb.oliver-karger.de/uploads/images/gallery/2026-01/GQKimage.png)
### DAZ Dual Lobe
The "Dual Lobe" simulates skin oiliness by calculating two layers of specular highlights. The Principled BSDF can approximate this with its standard **Roughness** and **Specular** inputs.
- Locate the Texture responsible for Shine. Usually with DAZ, this is `__S` (S = Specular)
- This, most of the Time flows into a Multiply Add Node
##### How to optimize
1. Add a Invert Color Node
2. Plug Color Output Socket of Shine/Specular Texture into IUnput of the new Invert Color Node
3. Plug output of Invert Color Node into the Roughness INput of the Principled BSDF
4. (Optional) Tweak IoR Value
### DAZ Color Effect
This group is likely handling the "translucency" or Subsurface Scattering (SSS) look of the skin (making ears/nose turn red when backlit).
The Principled BSDF from Blender 4.5+ has Built-In Subsurface Scattering (SSS / 3S)
1. Locate the Texture responsible for SSS, Usually with DAZ, this is <Character from DAZ>\_TH
2. Connect the Color Socket Output of this Node to the Subsurface Weight Input of the Principled BSDF
### DAZ Top Coat
The "Top Coat" adds an extra layer of reflection, often used for wet skin, lips, or makeup.