[](https://kb.oliver-karger.de/uploads/images/gallery/2025-06/qmdimage.png)
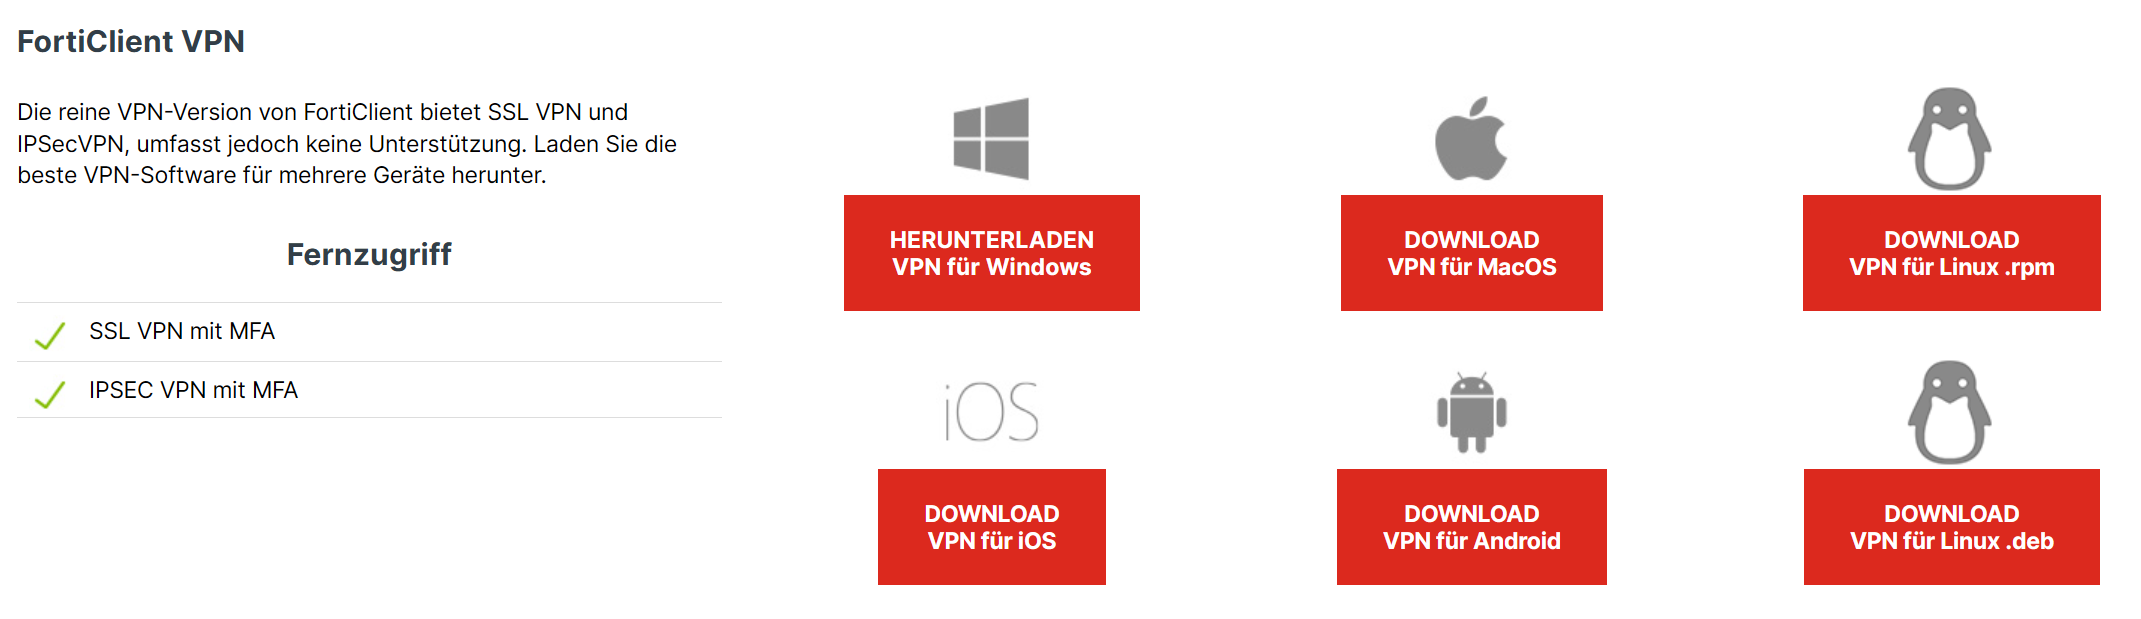
Run and complete the Setup after downloading
# Configuration
# Import/Export with CLI
Documented with FortiClient VPN-only 7.4.3.X
### Import Configuration with CLI
#### Windows Command Line (CMD)
```shell
"%ProgramFiles%\Fortinet\FortiClient\FCConfig.exe" ^
-m all ^
-f "" ^
-o import ^
-i 1 ^
-p ""
```
#### Windows PowerShell
```powershell
& "$env:ProgramFiles\Fortinet\FortiClient\FCConfig.exe" `
-m all `
-f "" `
-o import `
-i 1 `
-p ""
```
### Export Configuration with CLI
#### Windows Command Line (CMD)
```shell
"%ProgramFiles%\Fortinet\FortiClient\FCConfig.exe" ^
-m vpn ^
-f "" ^
-o export ^
-p ""
```
#### Windows PowerShell
```powershell
& "$env:ProgramFiles\Fortinet\FortiClient\FCConfig.exe" `
-m vpn `
-f "" `
-o export `
-p ""
```
# Import/Export with GUI
#### Importing VPN Configuration
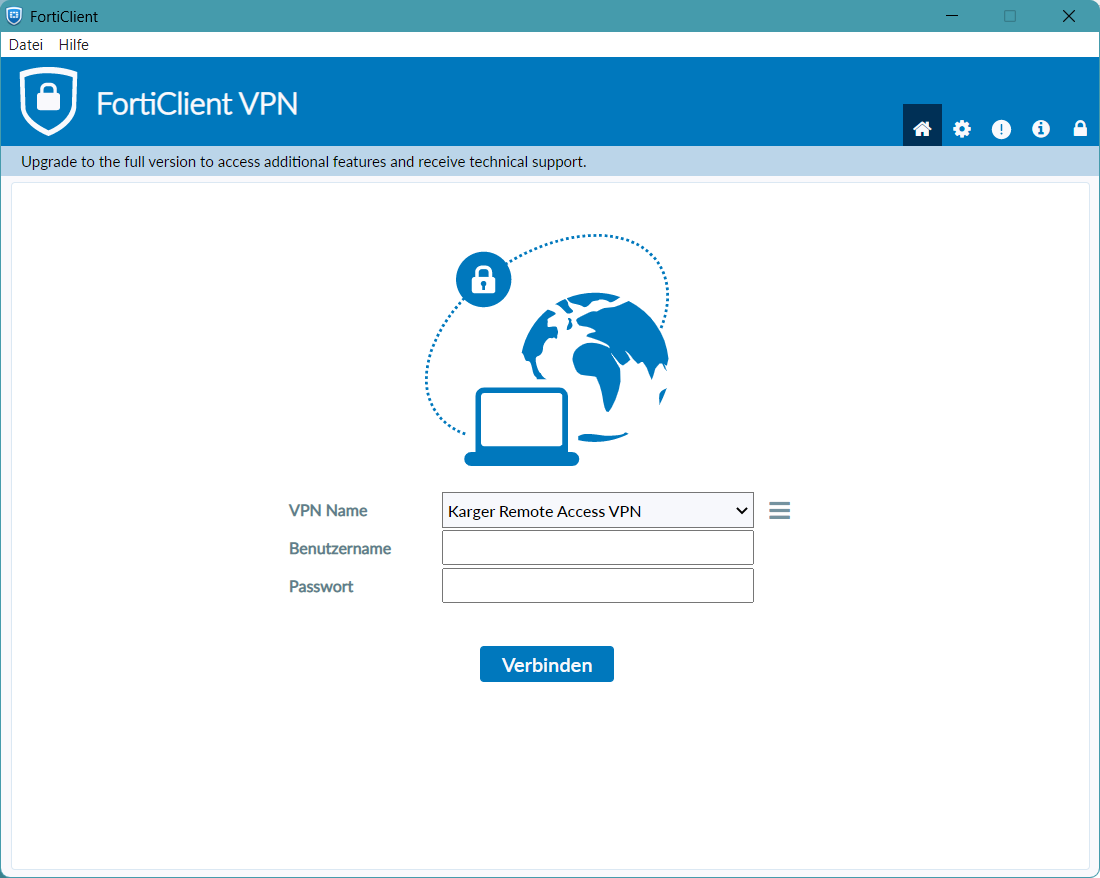
##### Launch “FortiClient” after installing
[](https://kb.oliver-karger.de/uploads/images/gallery/2025-06/Q6zimage.png)
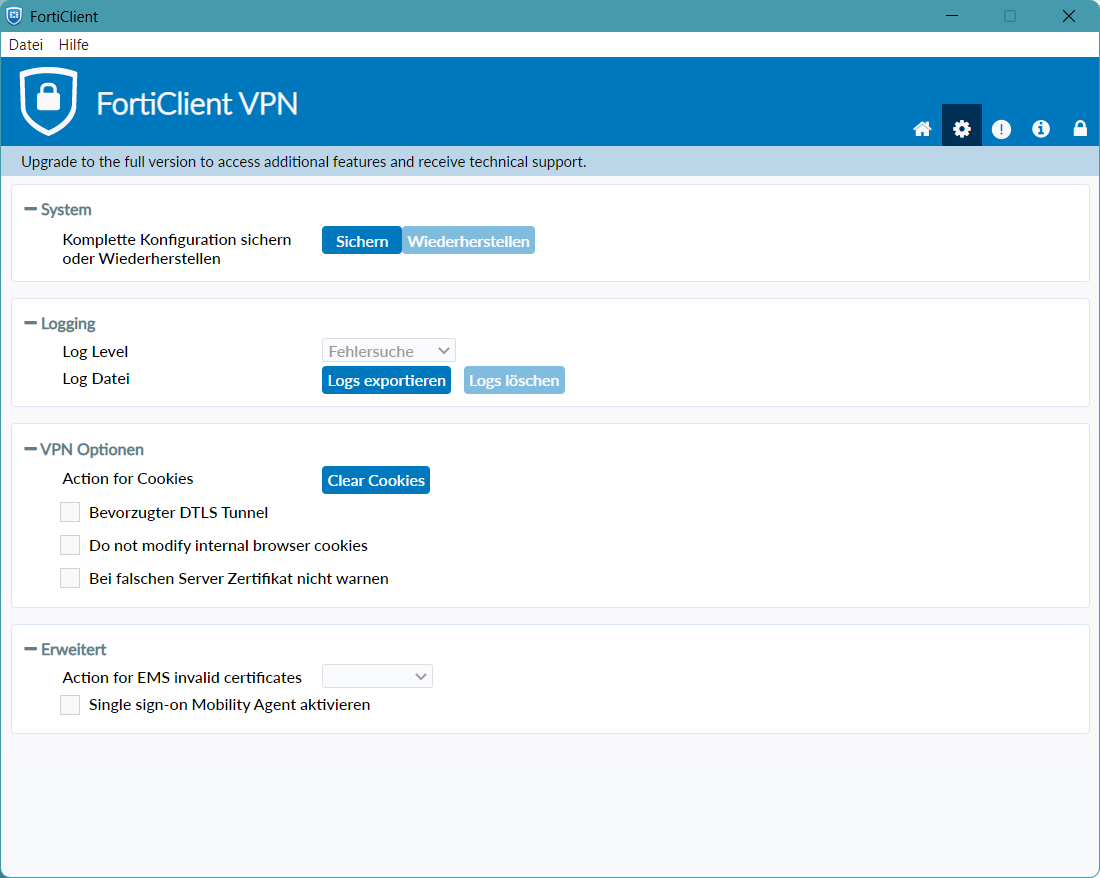
##### Click on the “Cog” Icon in the top right corner
[](https://kb.oliver-karger.de/uploads/images/gallery/2025-06/9Zdimage.png)
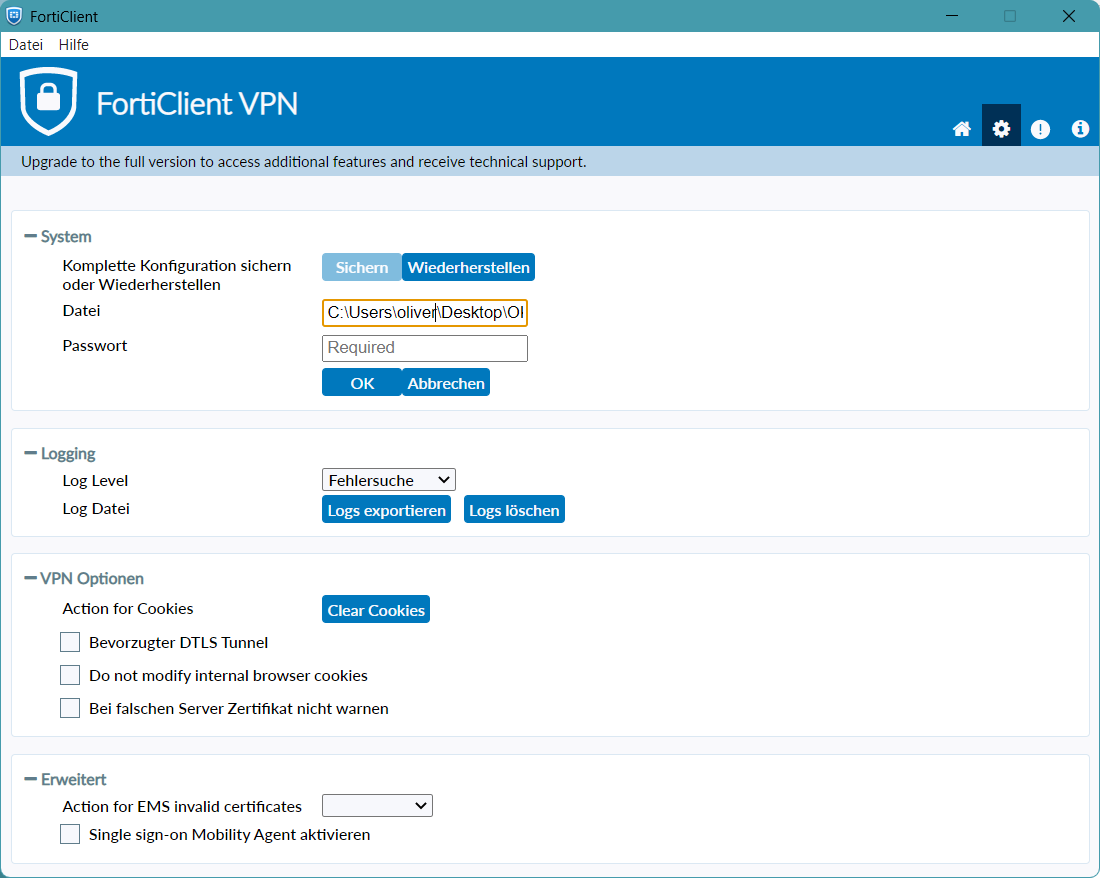
Click on the “Lock” icon in the top left corner to unlock the System Configuration Import ("Wiederherstellen" Button the the Screenshot)
Click “Wiederherstellen and select your Configuration File”
[](https://kb.oliver-karger.de/uploads/images/gallery/2025-06/61fimage.png)
5\. (Optional) If your Configuration File is encrypted, enter your Password provided to you by your Administrator
[](https://kb.oliver-karger.de/uploads/images/gallery/2025-06/sQpimage.png)
Click on the “Home” Icon in the top left, enter your Username and Password to connect
[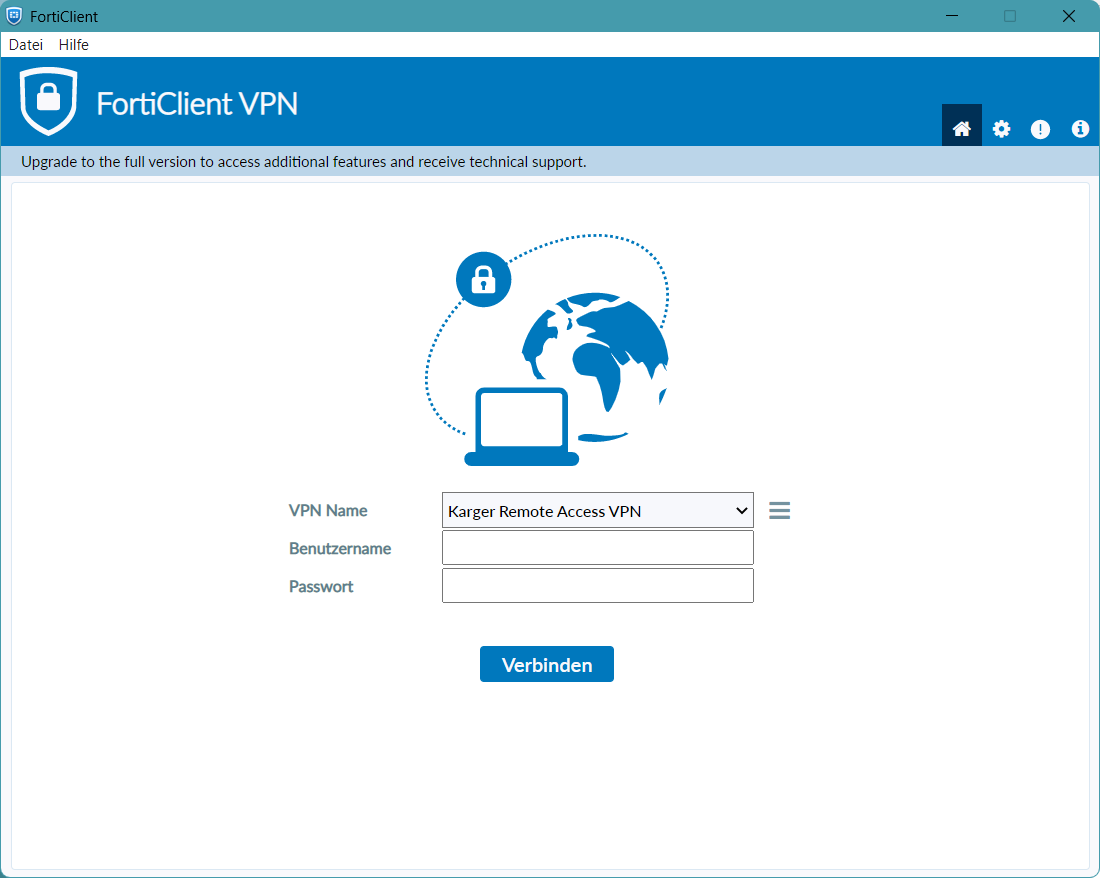](https://kb.oliver-karger.de/uploads/images/gallery/2025-06/D9Wimage.png)
# Debugging
# Enable Debug Logging
1. Open FortiClient
2. Click the “Cog” Icon in the top right corner
3\. Click on the “Lock” Icon in the top right corner
4\. Set “Log Level” to “Fehlersuche” / “Debug”
